How to register?
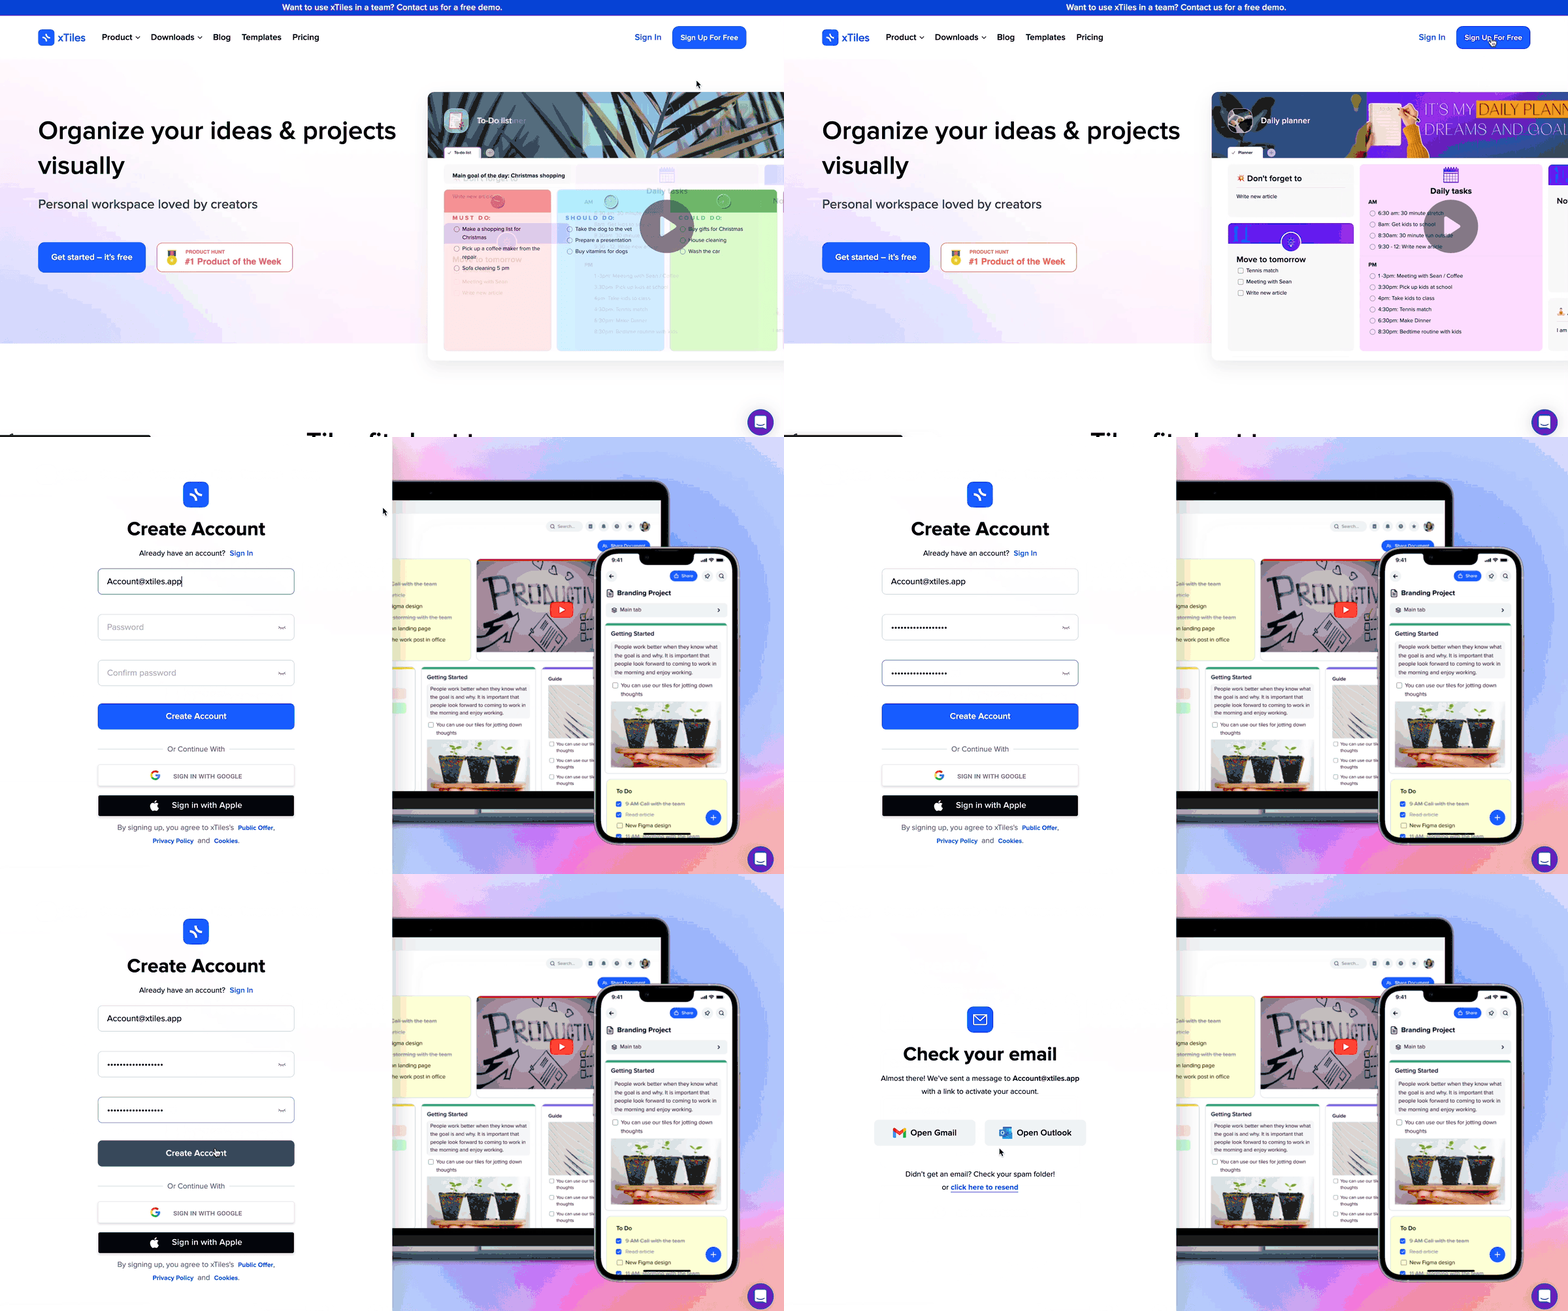
- Open the registration page;
- Fill in the fields: “email address” and “password”;
- Read the “terms” and “privacy policy“ of xTiles;
- Click “register”.
If your email address is already registered with xTiles, you will see a corresponding message.

Log in to xTiles using your email address to access your profile.You can reset your password if you don’t remember it, only on the web app.
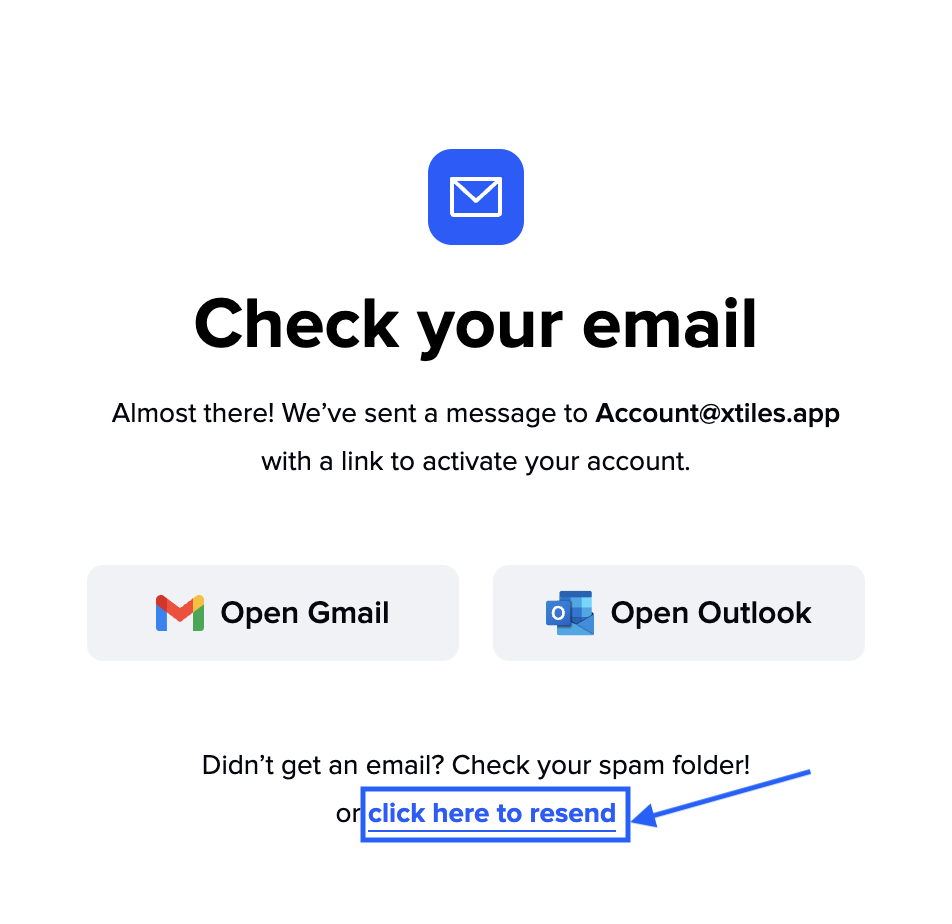
- If your email address is new to xTiles, you will be redirected to a page indicating that a verification email has been sent to your provided email address;
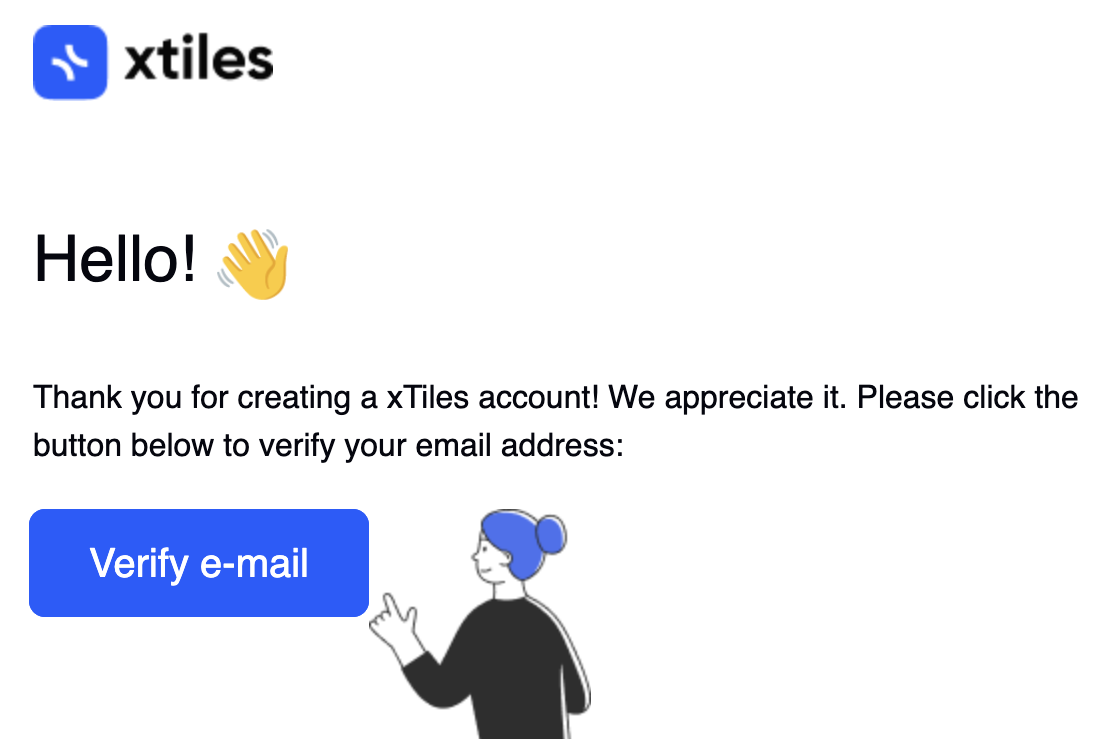
- Find the email with the verification link in your “Inbox” folder;
- To activate your account, you need to click on the “Confirm your email address” button in the email.
If you haven’t received the email, request a new one by clicking “click here to resend” on the “Check your email” screen or contact us at [email protected] or via the chat on the landing page.
Third-party sign-in
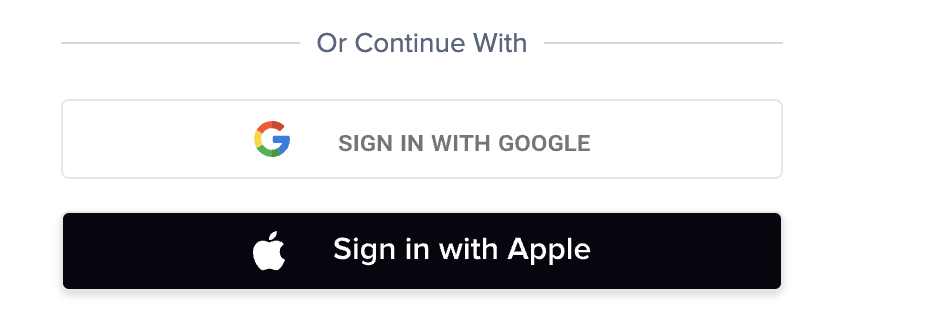
Speed up the registration process by registering using your existing Google or Apple ID account
- Open the registration page;
- Select the service for registration and log in.
When you first register with Apple ID, you can choose to share your email or keep it private. If you choose “Share My Email,” your Apple ID email address will be used as the email address for your xTiles profile. If you choose “Hide My Email,” a new email address will be created for your profile, and you will need to use this email address to log in to xTiles. However, xTiles notifications will still be sent to the email address associated with your Apple ID.
Registration from a template
You can sign up using any of our templates.
To do this:
- Go to the template gallery on our website, choose the desired template, and click the “Use a free template” button. After completing the registration process, you will be able to work with the selected template;
- If you want to take a closer look at the template before using it, click the “View a demo doc” button. You will be redirected to the template demo version of the template, where you can take a closer look at it and then use it with demo content by clicking the “use – prefill” button or without demo content by clicking the “use a template” button;
- After that, you can register or log in and work with the selected template.
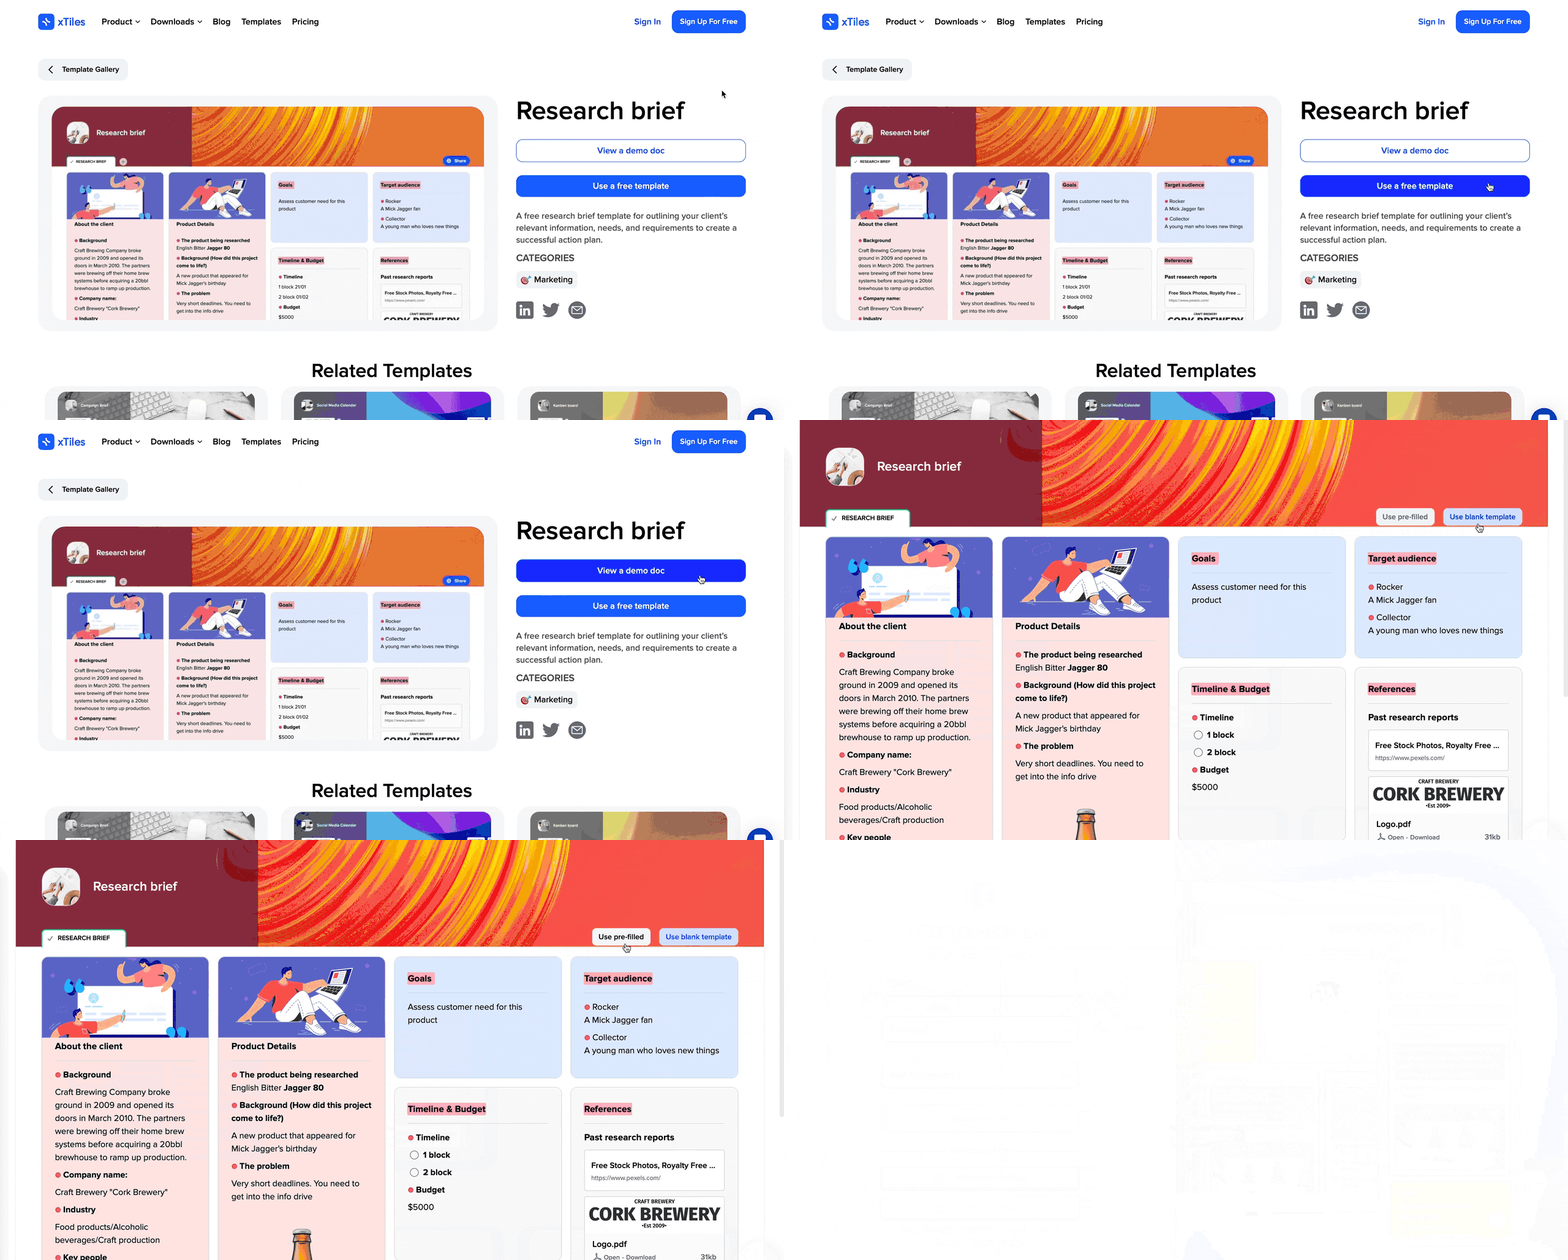
If you are already logged in, you can apply templates instantly and go directly to your project created using the selected template.
Joining a team project
In xTiles, users can create, save, and share their content or collaborate on it with others.
If you have been invited to an xTiles project before registering your profile, you will be directed to the project immediately after registration to start collaborating with your colleagues and friends.
Adding information to your profile
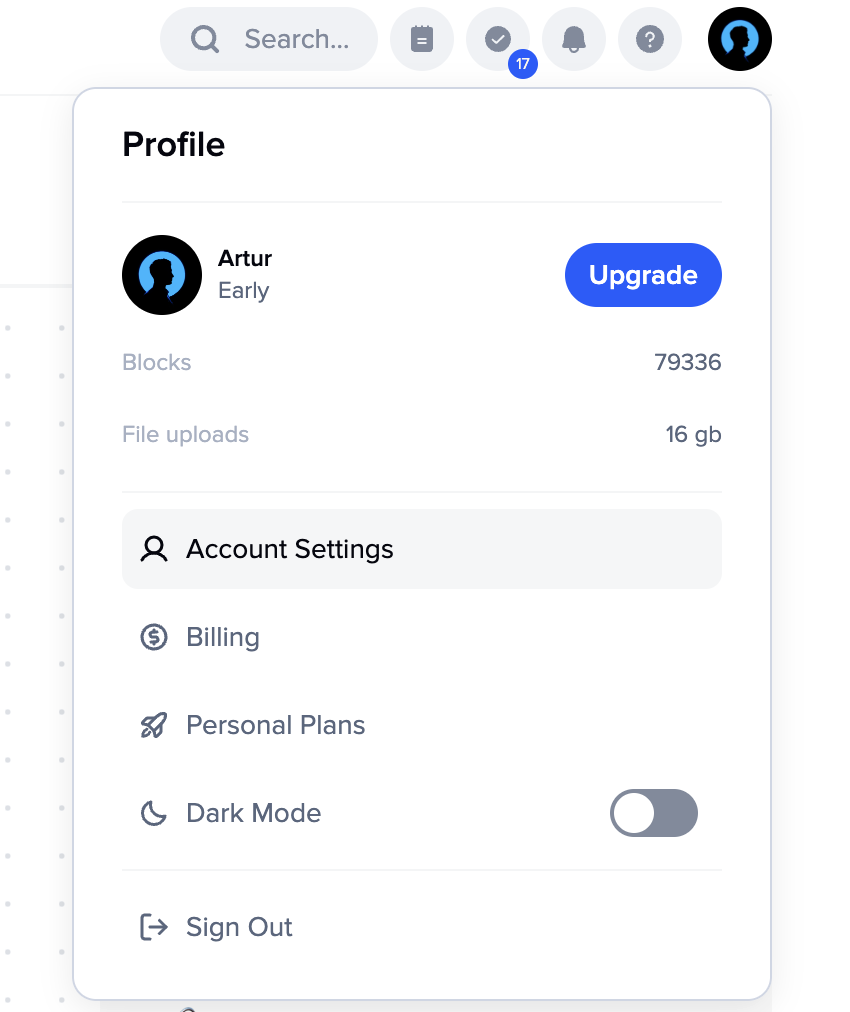
Click on your profile icon in the top right corner and select “Account Settings”. Then, change your name and photo in the xTiles profile settings.
In the profile settings, you can do the following:
- Change your name and photo;
- Request to change the email in your profile;
- Review the rates;
- View your payment information;
- Change your account password;
- Logout from your profile;
- Delete your profile;
- And more.
Join our community and stay tuned for product updates
Learn more about our plans and available features, visit the pricing page and choose the best option that fits your workflow.
Stay updated on xTiles product updates with the changelog.
Join the xTiles community on Slack and Discord instead visit the Youtube channel and xTiles blog, and follow us on social media to stay informed about the latest news, updates, and great content!


