Export & Import Content in xTiles
Switching to a new tool can feel overwhelming, as the heart-stirring thought comes to mind: “What about all your existing notes, tasks, and ideas?” Worry not! With xTiles, importing and exporting your data is quick and hassle-free. Whether you’re bringing in content from other platforms or exporting your work for external use, xTiles ensures a seamless experience, keeping everything organized and accessible. Ready to make the move with ease? Let’s dive into the powerful import and export features that simplify your workflow.
How to Export from xTiles
Export features are available in all xTiles page types — creative pages, collections, and page documents. This allows users to download their content without hassle in the desired format, including PDF, PNG, Markdown, or CSV.
🚨Note: You can only export your content one page at a time.
To export your content:
- Click on the ••• icon near the page or collection name and select “Export to”.
- Choose the preferable file format form the dropdown.
- Get your page or collection downloaded onto your device.
You can also export your content this way:
- Click on the ••• Workbook settings icon near the workbook name and select “Export to”.
- A dropdown will appear with a list of available export formats for the page.
- Select the desired format from the dropdown menu.
- The file will be immediately downloaded onto your device.
🚨Note: Currently, mobile export is limited to Markdown format. Still, you can also share public or private link.
How to Import into xTiles
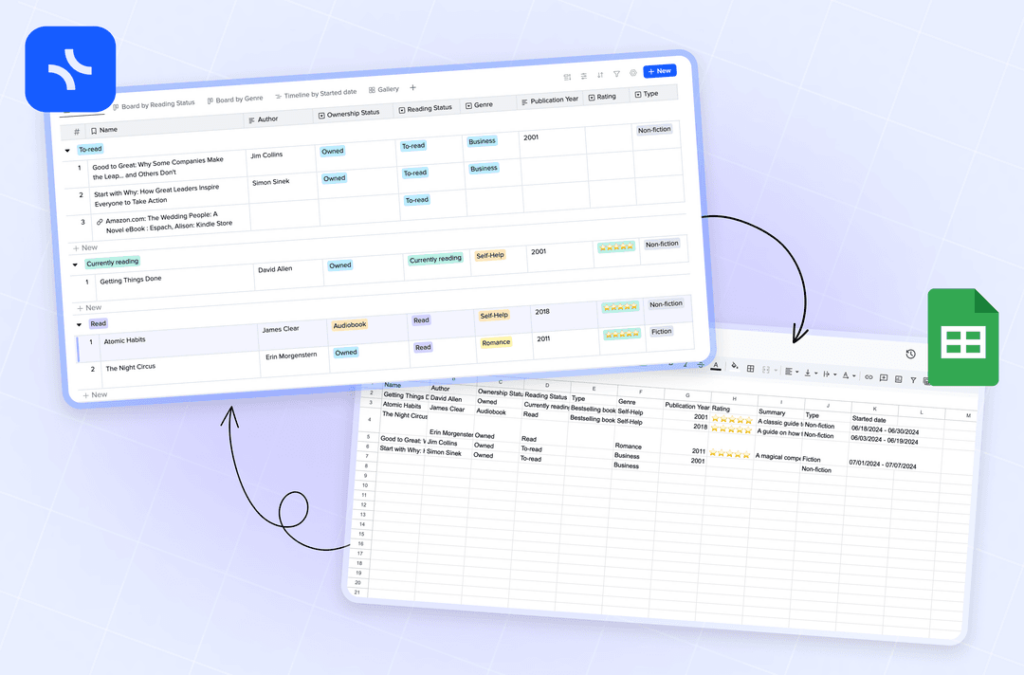
Like most people, you probably have data, projects, documents, and notes scattered across multiple files and applications. Now, you can centralize your information in one place by importing it all into xTiles. The application allows you to directly import the following file types into your workbook: CSV and Markdown.
🚨Note: You can only export your content one page at a time.
To import your content:
- Click on the ••• Workbook settings icon near the workbook name and select “Import from”.
- A dropdown will appear with a list of available import formats for the page.
- Select the desired format from the menu.
- In the file explorer, find and select the required file.
- The file will be imported into your workbook.
You can also import your content this way:
- In your workspace, click on the “New workbook” button on the right.
- Chose the “Import from Markdown” option.
- Select the needed file.
- Have it imported into your xTiles workbook.
🚨Note: Currently, the import feature is available in Desktop and Web versions, but we’re working on implementing it in the Mobile version as well.
Import with xTiles Web Clipper
While xTiles Web Clipper isn’t an import tool, it acts as a smart assistant for capturing and organizing web content. It allows you to quickly save text, images, and links directly into your workbook, transforming scattered information into a structured, visual workspace. With this seamless extension, you can keep everything in one place for easy access and a clutter-free workflow.
You can download the Web Clipper on this page ➡️ xTiles Web Clipper
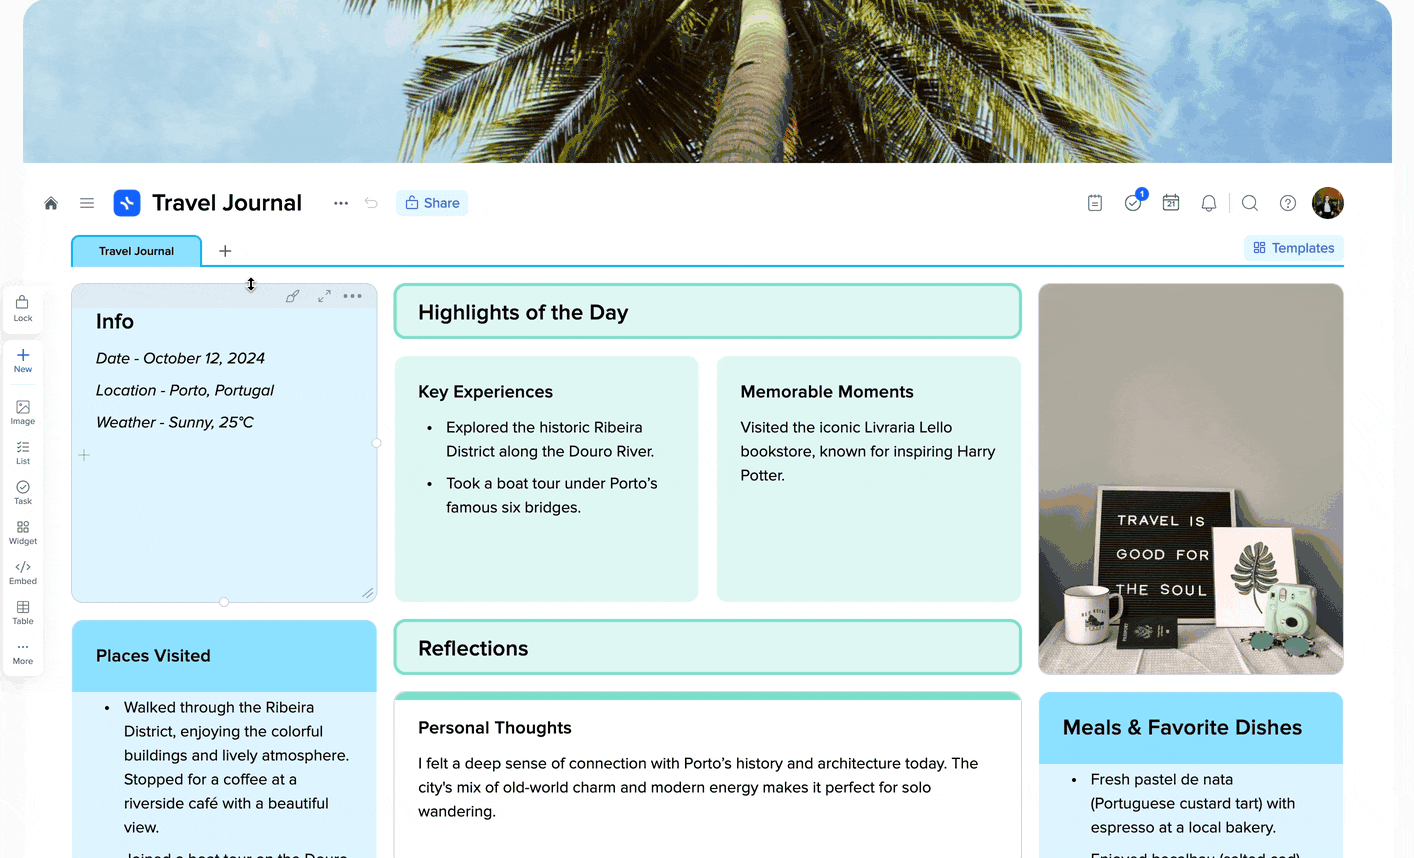
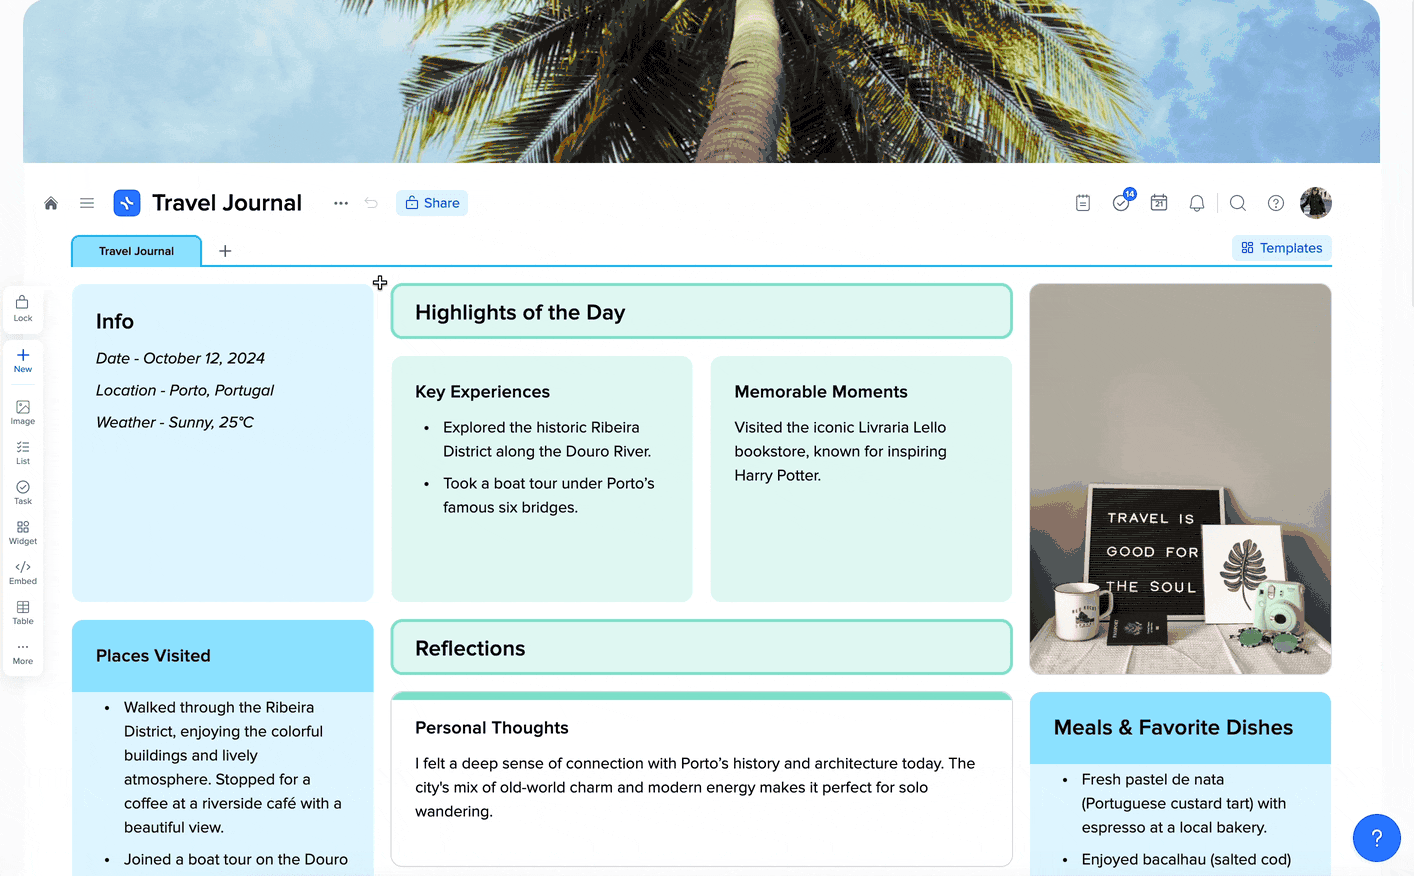
Embeds
Embeds are a powerful way to visually organize information within your xTiles workbook. Unlike imports or integrations, embeds let you seamlessly place content from various sources directly into tiles on your creative page. This helps you build a cohesive, easy-to-navigate dashboard, keeping all essential information right at your fingertips.
You can embed the following third-party services: YouTube, Google Docs, Google Sheets, Google Maps, Loom, Airtable, Pinterest, Instagram, Twitter, Figma
Need more info on this topic? Learn all the ins and outs in our short yet comprehensive guide: Embeds in xTiles➡️
Join our community and stay tuned for product updates
Learn more about our plans and available features, visit the pricing page and choose the best option that fits your workflow.
Stay updated on xTiles product updates with the changelog.
Join the xTiles community on Slack and Discord instead visit the Youtube channel and xTiles blog, and follow us on social media to stay informed about the latest news, updates, and great content!